

What is Serverless Computing?
Serverless computing is a cloud computing model where backend services are provided on a pay-as-you-use basis.
In this model, developers get to create and run development code without having to manage or provision servers. As such, they get to focus solely on writing the business logic (or front-end development) code instead.
Microsoft Azure provides a wide range of options for designing this kind of architecture. However, the most frequently used methods are Azure Logic Apps and Azure Functions which will be the main focus of this article.
What are Azure Functions?
Azure Functions is the serverless computing model on Microsoft Azure platform for creating serverless applications. It enables developers to host their business logics without the need for infrastructure.
The code for Azure functions can be written in a wide range of programming languages including C#, JavaScript, and Python, amongst others. Like other cloud services, it operates on a pay-per-use basis, where you only pay for the resources you consume.
By the end of this tutorial, you will be able to:
- Create an Azure function app in the Azure portal.
- Exercise a function using triggers.
- Monitor and test your Azure function from the Azure portal.
Prerequisites
You will need a valid and active Microsoft Azure account to follow along with this tutorial. You can use either:
- Free Azure Trial: With this option, you will start with $200 Azure credit and will have 30 days to use it, in addition to free services.
- Azure for Students: This offer is available for students only. With this option, you will start with $100 Azure credit with no credit card required and access to popular services for free whilst you have your credit.
Step 1 – Create your Azure Function App
To establish a serverless computing resource for your business logic using Azure Functions, it is essential to create an Azure Function application. Having created a valid and active Microsoft Azure account, navigate to the portal.

- Select
Create a resource - Select the
Createbutton underneath theFunction Apppane. - On clicking the button, a page where you enter the details of your project appears as shown below.


Enter the configuration details for this tutorial under the Basics tab before clicking the Review + create button
- Enter the
Subscriptionavailable on your account. Note that your subscription might not beVisual Studio Enterprise Subscriptionas shown in mine. - For the
Resource group, if you have created one before, you could use it. However, if you have not created one or are not familiar with Azure resource group, create a new one by using theCreate newbutton.
At its core, a resource group is used to group similar Azure services on your Azure subscription together to make managing them easier.
- For the
Function App nameoption, enter a globally unique app name. It is important to note that this name is will become part of the base URL for your service. - For the
Publishoption, selectCode. - Choose
Node.jsfor theRuntime Slackoption since this tutorial's function examples were implemented using that language. - Leave the
Versionoption as default. - Select the region that is geographically nearest to you when filling out the
Regionchoice. A region is a collection of physical server data centers. Given that my base of operations is in Lagos, Nigeria, I choseSouth Africa North. - For the
Operating System, select one that conforms with your selection of runtime. - For the
Planoption, selectConsumption (Serverless). The plan you choose will determine how your app scales and what features are enabled. - At this point, you can then click the
Review + createbutton.
The validation and deployment process usually takes up to three minutes. When the validation and deployment processes are both completed for the Azure Function set up, you can then verify that your Azure function app is running.
Step 2 – Verify that your Azure Function App is Running
Once the deployment process is done, select Go to resource. Your function's App pane will now appear. To open it in a browser, select the URL link in the Essentials section.
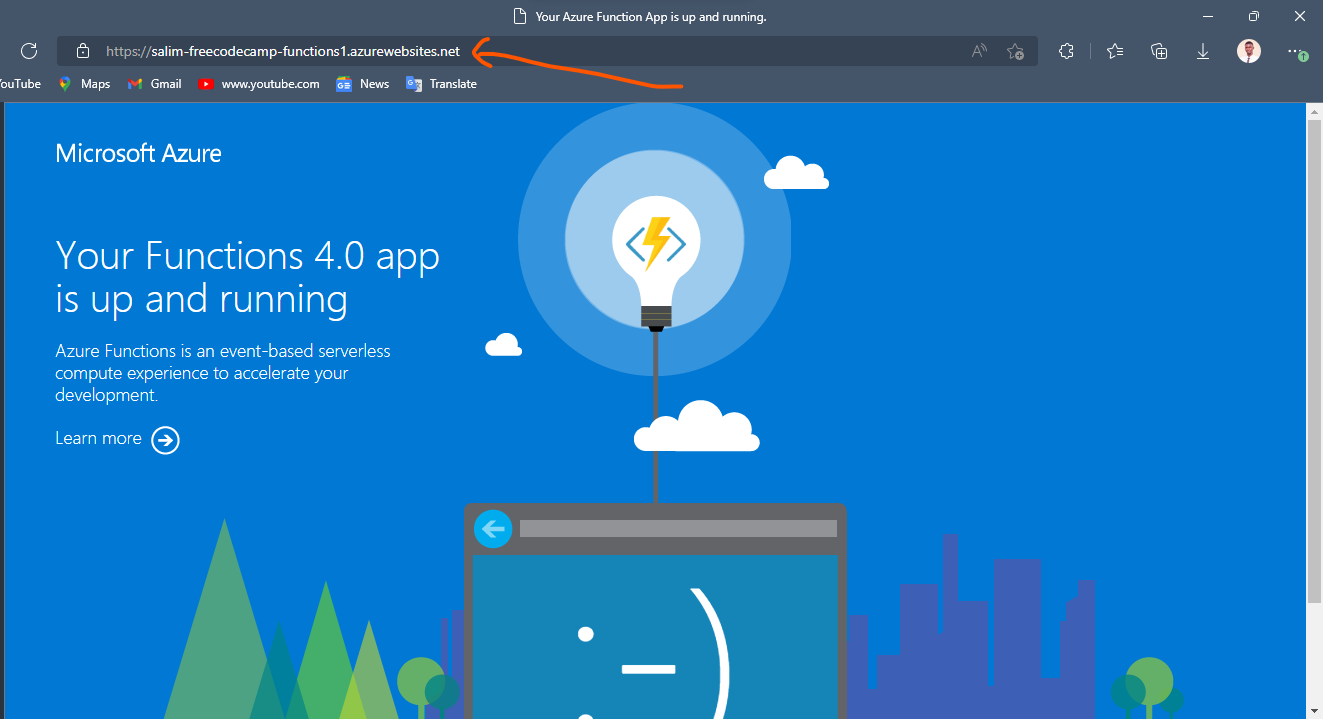
With the message above, you will see a standard Azure functions web app page appear: Your Function 4.0 app is up and running.
Step 3 – Run your Code On-Demand with Azure Functions
With the function app created, the next step is to build and configure the function. To do this, you have to understand what Triggers and Bindings are.
Triggers cause a function to run. A trigger defines how a function is invoked and a function must have exactly one trigger. Triggers have associated data, which is often provided as the payload of the function. Binding to a function is a way of declaratively connecting another resource to the function; bindings may be connected as input bindings, output bindings, or both. Data from bindings is provided to the function as parameters. – Microsoft Learn Documentation
In general, Azure Functions run in response to an event. This event is known as a Trigger and Bindings are used to connect resources to a function. The typical triggers on Azure range from a blob storage that runs a function when a blob is created or updated to a timer that runs a function on a schedule.
To run your code on Azure Functions, you need to first create your function to run your code within the function app using the template.
To do this, click the Function tag on the menu bar on the left of your functions app's home page.

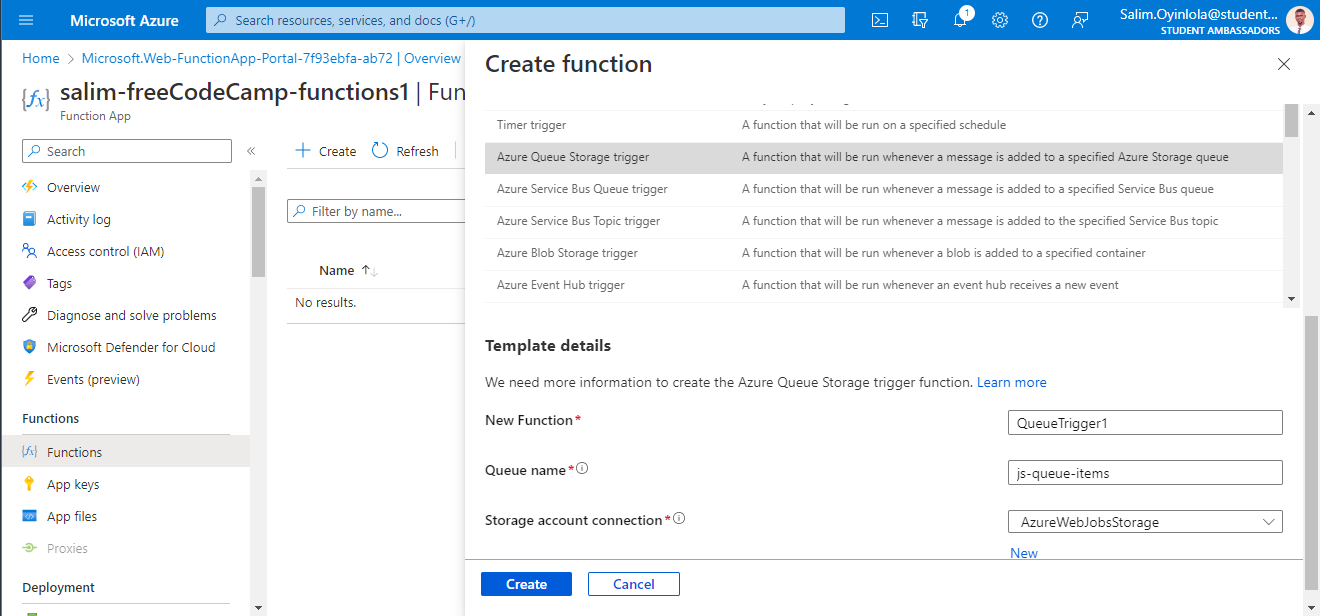
- Click the
+ Createbutton to create the function. - Select the
Azure Queue Storage triggertemplate. This trigger runs the functions app when it detects that a message has been added to an Azure storage queue. - Leave everything else as its default value.
- Click the
Createbutton to create the function.
Given that the function was created with a template, several other files will be created automatically. These files comprises of a source code and a configuration file.
- Click on the
Code + Testbutton on the left pane and open thefunction.jsonfile by selecting it from the dropdown. - Replace the block of code it shows with the one below.
{
  "bindings": [
    {
      "name": "order",
      "type": "queueTrigger",
      "direction": "in",
      "queueName": "myqueue-items",
      "connection": "MY_STORAGE_ACCT_APP_SETTING"
    },
    {
      "name": "$return",
      "type": "table",
      "direction": "out",
      "tableName": "outTable",
      "connection": "MY_TABLE_STORAGE_ACCT_APP_SETTING"
    }
  ]
}
This block of code sets the trigger for the function as when a message is added to the queue named myqueue-items. Furthermore, it sends the return value to the outTable.
- Save and Test/Run the function whilst leaving the testing details as their default values and run the function app.
- You will see the output shown below.
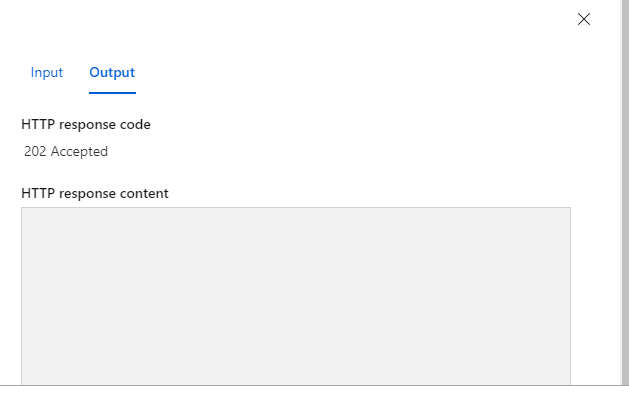
The fact that the outcome automatically displays on the Output tab suggests that the function app functions well. Because there isn't any business logic applied to the function, the graphic above is blank.
Conclusion
In this tutorial, you have seen that serverless computing is a great option for hosting business logic code in the cloud. You have seen that with serverless offers such as Azure Functions, you can write your business logic in the language of your choice.
Also, it is important to note that not only does the use of serverless computing solutions avoid the over-allocation of infrastructure (because they can be created and destroyed on demand), but they are also event driven. Event driven in the sense that they run only in response to an event (called a 'trigger'), such as a message being added to a queue, or receiving an HTTP request.
Finally, I share my writings on Twitter if you enjoyed this article and want to see more.